CLICK HERE FOR FREE BLOG LAYOUTS, LINK BUTTONS AND MORE! »

Wednesday, July 27, 2011

Riley Blake Givaway

Have you seen the quilt contest on the Riley Blake Blog? They're hosting a contest for quilts made with Riley Blake fabrics, and there are some great prizes!

Sunday, July 24, 2011

Fabric Flower Necklace X 2

I recently made fabric flower necklaces using two different techniques. The first one I made was a chain of puffy flowers.


The tutorial can be found here. It's pretty easy-to make a flower just cut out a bunch of fabric circles, scrunch them up, and glue them onto a circle of felt. I love, Love, LOVE this necklace. the colors turned out really well, I think.

I found a tutorial for this second necklace here, on my friend Laura's blog.

This one was even easier than the first one. Just take a strip of fabric, twist, roll, and glue. I love both of these necklaces. The first one is great if you want to get dressed up in a little strapless dress, and the second one looks best with a casual tank top.

Monday, July 18, 2011

Other Baby Things

Around the time I was piecing the baby quilt I realized that I could use my sewing machine for many things besides quilting. I started by appliqueing some onesies. How hard could it be? Hard. HARD. The onesie fabric stretches and it’s nearly impossible to stitch around the applique using the machine and not stitch some other part of the onesie in. In the end, they turned out pretty cute.

I did enjoy adding the ruffles to the backs, as they are for a little girl.
I also had a great time stitching up these cute bibs that I found in the Summer 2011 issue of Quilts and More. The creator was challenged to make something using a pack of charm squares and a fat quarter. I had a pack of charm squares left over from when I made my first quilt. The company sent me the wrong kit and didn’t make me send it back. Notice that these bibs are in the same fabric as Quilt #1.


Originally I used Velcro, but after consulting some new Mommies I found that children can easily pull the Velcro bibs off of themselves. So I made a trip to Jo-Anns to purchase this nifty snap-attacher.
They are really called Grommet Pliers but I like snap-attacher so much better. I think they look much more professional with the snaps than they did with the Velcro, and let’s be honest- I was pumped to have the excuse to buy another gadget.
I was enjoying using my sewing machine for something other than quilting, so I also tried my hand at these baby shoes.

They are called Kimono shoes, I guess because the fabric wraps all the way around. I don’t know if the will stay on a baby’s foot or not. I’ll report back in October, when she’s old enough to try them out.
I didn’t have much time for sewing after pumping out all of those baby shower items, but I did manage to make a few more bibs (in Lilly & Will and Lilly & Will II and some left over Verna by Kate Spain) for two soon-to-arrive babies of Robbie’s friends.


A Baby Quilt

Around the time I was finishing up Robbie’s Quilt, a friend of mine from work told me she was pregnant. Yes!! I had been waiting for the opportunity to make a baby quilt and I poured over my quilting magazines looking for the perfect pattern. It didn’t take long to find it. In an old issue of Quiltmaker I found a pattern in cream, green, and brown flannels that was made up of only two alternating blocks: a nine-patch and an appliqued fleece sheep. At the time she didn’t know if she would be having a girl or a boy, and this pattern would be great for either one. Plus, I knew she would like the colors. I set about cutting and sewing and immediately regretted my decision to use flannel instead of cotton. Flannel stretches and distorts. No matter how carefully I cut and sewed, I just couldn’t get the seams to line up. I started to get frustrated, but soon reminded myself that this is only the 5th quilt I’ve ever made and before I started quilting I had never even used a sewing machine before.


The applique part was easier, and I even used one of my decorative stitches to create the sheep’s’ eyes.
In the end it went together well, and I’m sure I’m the only one who notices those seams that are just a little “off”.
I stitched in the ditch between the blocks and stitched an X over the nine-patch blocks. I also quilted sheep around the boarder. I added a cute label to the back (something I know I should do every time) and finished just in time for the baby shower!

Thursday, July 14, 2011

Watermelon Finish

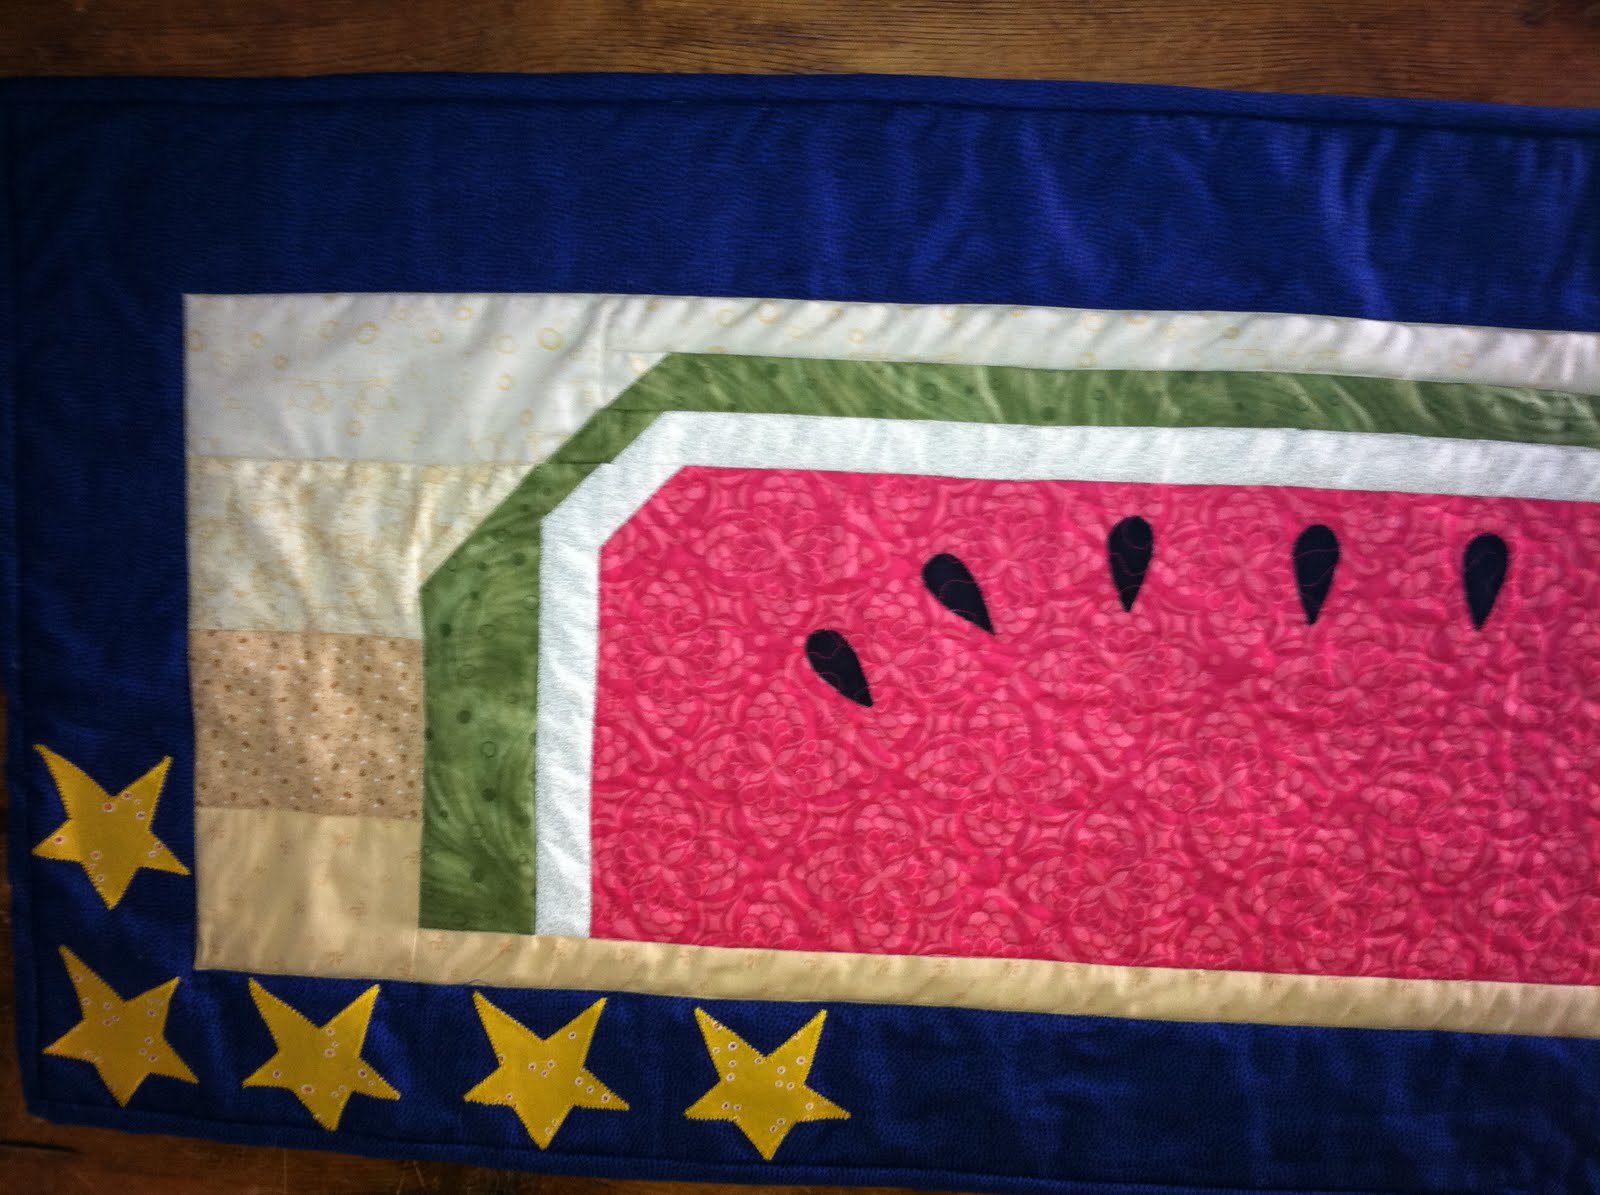
A few posts ago I told you about the Juicy Summer Table Topper I was making. It's finished!

I pieced the watermelon and appliqued the stars and seeds. I stitched in the ditch and stippled the pink part of the melon (my first time stippling!)I think it turned out pretty well!


Monday, July 11, 2011

Another Cute Bag

I wanted a quick and easy project today. I also wanted to take a break from hand sewing binding, as I feel like I've done nothing but that. I finished binding Playful Pinwheels and went straight on to the Juicy Summer Tabletopper. I went with a bag pattern from the Spring 2011 issue of Quilts and More. You can find the pattern and instructions here. There are also instructions to make a messenger bag version (longer handle) but I preferred the shoulder bag size. The bag is reversible, but I went with a plan brown lining so I probably won't be flipping it around too often.

Please excuse the grubby hook it is hanging on and the fact that I forgot to empty it before I took that picture. Here's what it looks like laying flat.

This bag was a piece of cake to make. It was seriously easy peasy lemon squeezy. Even easier than the Summer Bag I told you was so simple. And all you need is a half yard cut of two different fabrics!

Sunday, July 10, 2011

Playful Pinwheels

I enjoyed branching out my sewing projects, but I was anxious to get back to quilting. I had a few kits waiting to be pieced, so I chose a baby quilt in yellows and blues that would be suitable for a boy or a girl. It is a pinwheel pattern which I love, love. There is something about that playful shape dancing across the quilt that just makes me smile each time I see it.


Upon further inspection of the pattern I realized that these weren’t just any pinwheels…they were 3-D!! The triangles that make up the pinwheels were actually prairie points. Even better, they had pompoms at their centers which upped the cuteness factor, not to mention the fact that they hide the center pinwheel points that don’t always quite match up.

I used the Clover Pompom Maker to quickly stitch up and attach those bad boys. What a fun tool! I wanted to back it with something extra soft so I looked around blogland for some ideas. It seemed that Minkey was the way to go. I read the warnings about stretching but I also found a post about a spray adhesive that I could use to temporarily glue the backing to the batting, thus preventing stretching. It worked like a charm!

I stitched in the ditch, hand sewed the binding, and I was finished!